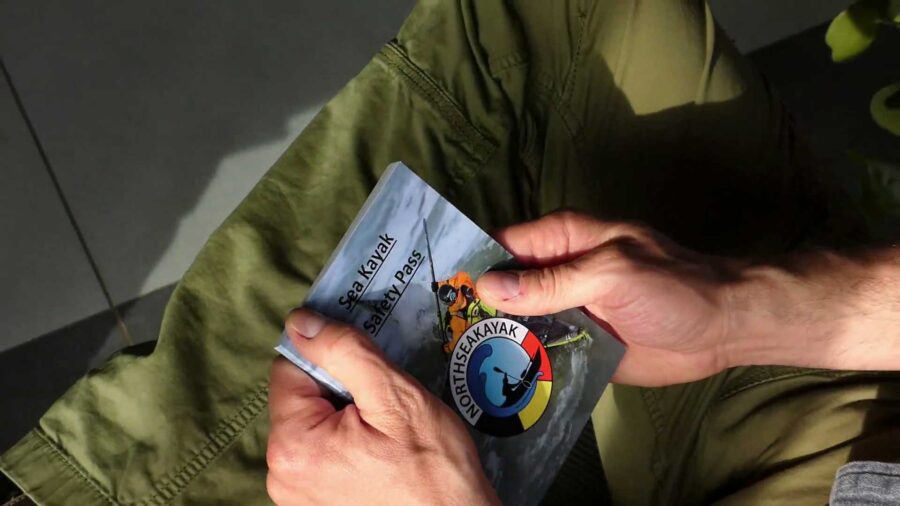
The SeaKayakSafetyPass is the final step in opening up our NORTHSEAKAYAK training system to even more paddlers. It is an A6 pocket-sized sea kayaking experience/award logbook with a softcover, has about 100 pages, and is considered personal and valid only after completing the bio section, which includes identification, a photograph, and a start date.
When Sylvie and I were getting started in kayaking, we struggled to find guidance, so we created our own path, taking into account paddlers from diverse backgrounds. We have now been training and educating fellow sea kayakers for years, always prioritising safety within the sport.

It has been almost a decade since we developed the SeaKayakTrainingCamp (mostly in Croatia during spring) with a solid framework towards coaching paddlers from all over the world. With the SeaKayakTrainingCamp as the backbone, we can add several advanced courses.
The SeaKayakSafetyPass allows you to follow a trajectory within the sport through 3 different levels. It is up to the user to complete the trajectory however they want; on their own through self-evaluation, with the assistance and assessment of an instructor, or through a combination of both! It puts the responsibility in your hands, so it is up to you to make good use of it and keep a clear track of your progress.
The introduction explains exactly how to follow the path of self-evaluation. When working with an instructor, every technique is described in a way that is clear to both the user and the instructor, explaining exactly how to perform it successfully. Guidelines and tips are provided for every technique, without the SeaKayakSafetyPass becoming a manual.
This is the first and only system that allows self-evaluation and even validates it when done properly. It doesn’t stand in the way of other systems; you can combine it without interference. We even encourage it!
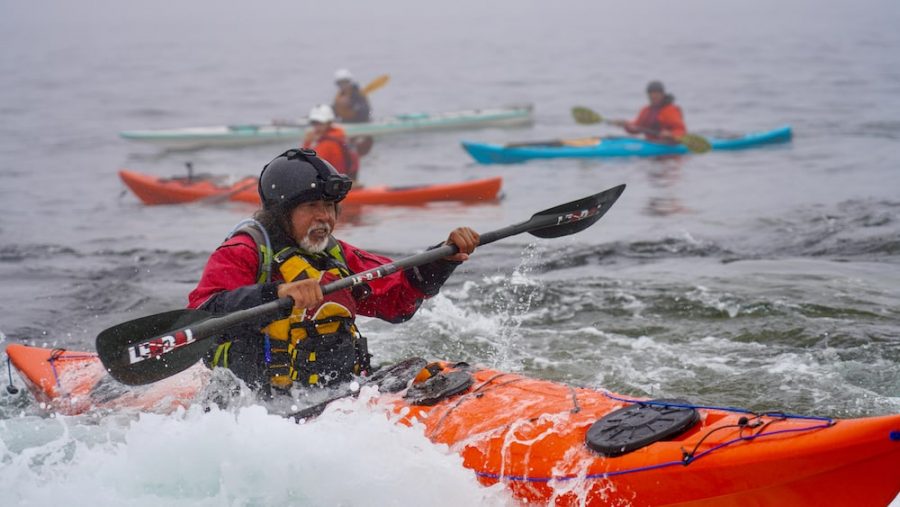
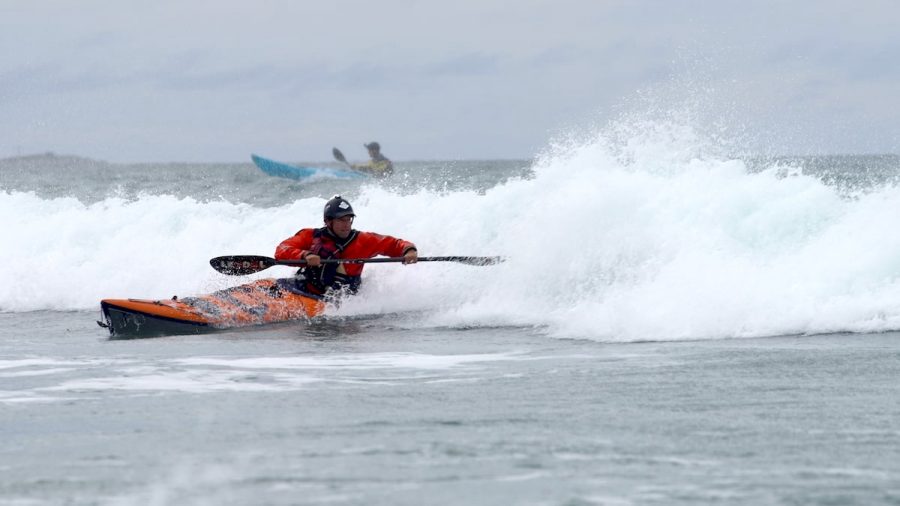
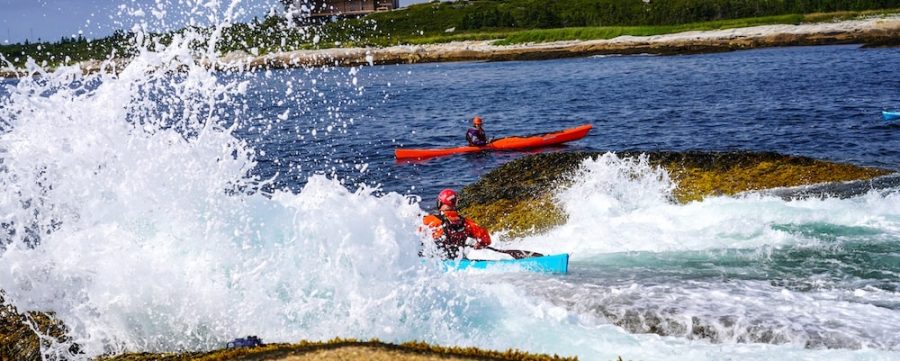
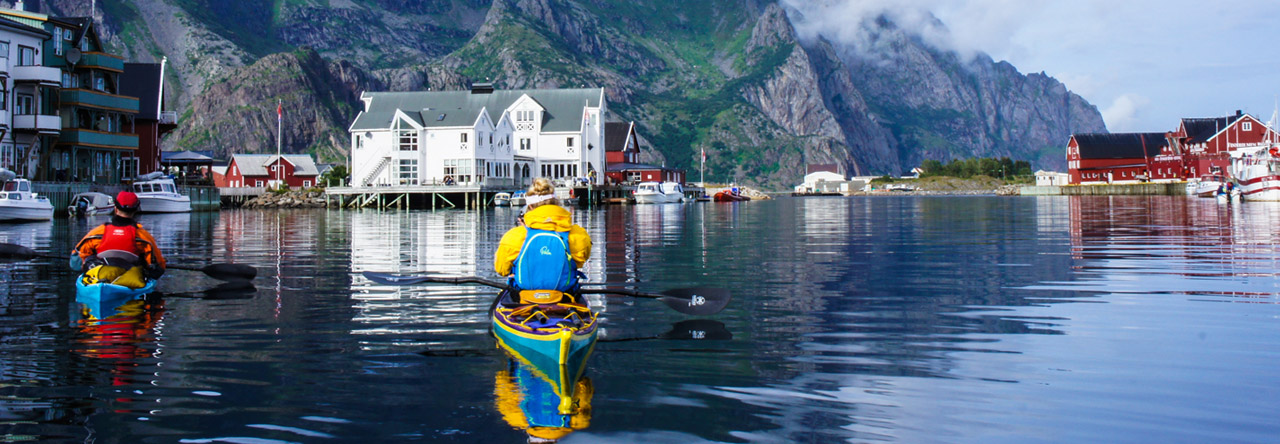
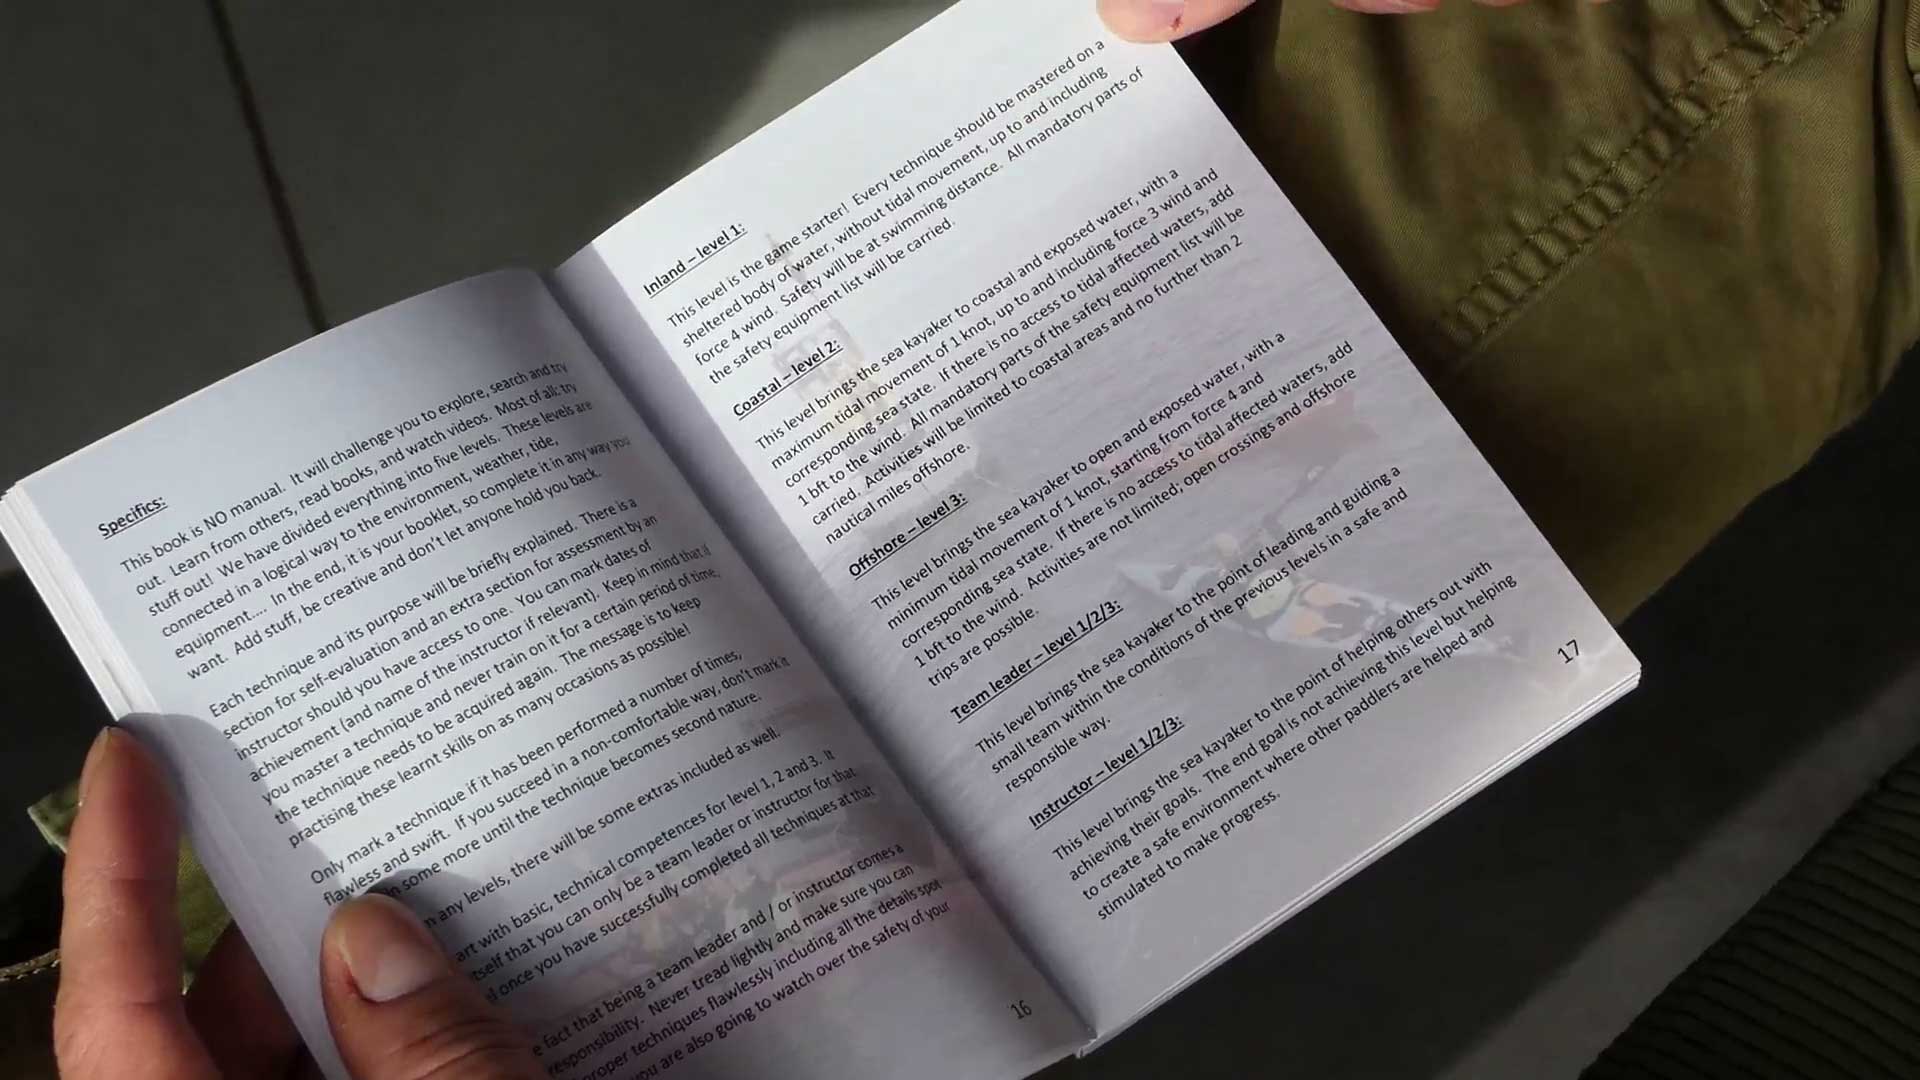
We use 3 main levels: Inland, Coastal, and Offshore. These levels are logically connected to wind, tide, and location. We also accounted for paddlers without access to tidal-affected areas. So, the SeaKayakSafetyPass works for everyone; no one gets left behind.
Upon completion of each level, should you wish, the Team Leader and Instructor levels are unlocked. One can only move on to become a Team Leader or Instructor at that specific level under the strict condition of having completed all techniques associated with that level.
The Team Leader stage serves as an internship; self-evaluation will be combined with evaluation by the team you are working with, an instructor, or both.
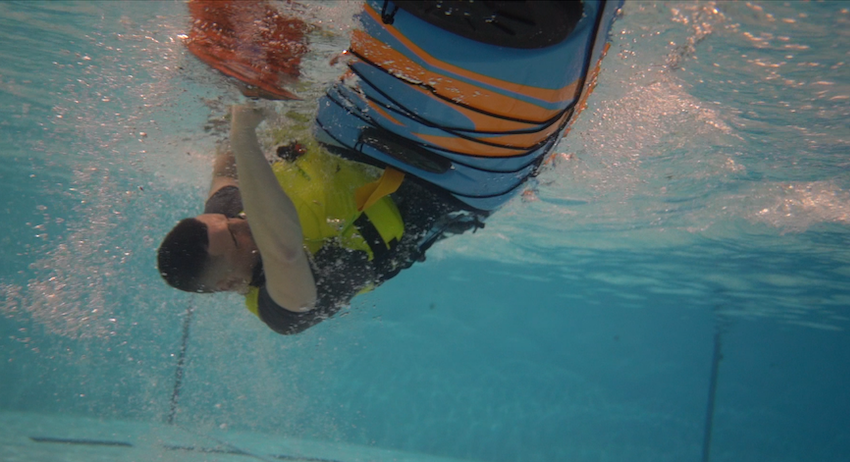
The whole NORTHSEAKAYAK system relies heavily on becoming an independent, responsible, and safe sea kayaker at any level. We included our self-evaluation system because we have met many people over the years who lack access to an instructor, a federation, a club, or a system. These sea kayakers are often forgotten despite their hard work, but not with the SeaKayakSafetyPass.
Order yours today by emailing us on northseakayak@hotmail.com. The SeaKayakSafetyPass is in no way commercial; the price you pay is purely to cover its production costs.
We wish to thank all who contributed to the SeaKayakSafetyPass, as well as the sea kayakers who use it!
Dimitri & Sylvie VANDEPOELE